Set up a test endpoint for webhooks with Pipedream
This guide provides instructions on how to set up an endpoint that you can use to listen for Miro webhooks for testing purposes.
Miro webhooks require you to expose a server or endpoint that can receive HTTP payloads. In a production environment, this would typically be a server that you own or manage directly.
For development purposes, however, you might consider leveraging an external resource to expedite testing Miro webhooks. Many different third-party services can assist with this. We’re going to set up a simple endpoint using Pipedream. Follow along for step-by-step instructions on how to set up a test endpoint using Pipedream below.
Step 1: Create a free Pipedream account
Create a free account here.
Step 2: Create a webhook workflow in Pipedream
a. Set up a new workflow in Pipedream, following the steps they’ve outlined in their Quickstart guide, and add an HTTP / Webhook Requests trigger.
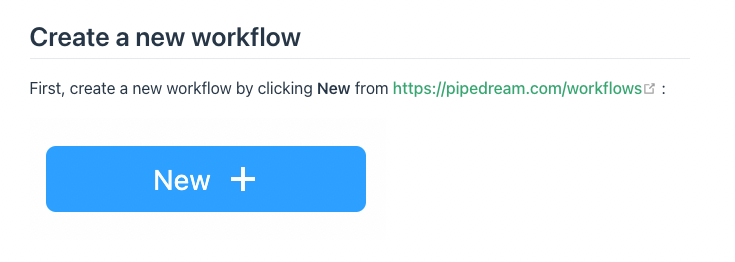
Figure 1. Create a new workflow in Pipedream.
b. In the configuration settings, specify Full HTTP Request for the Event Data field and Return a custom response from your workflow for the HTTP Response field.

Figure 2. HTTP / Webhook Requests trigger configuration.
c. Click Save & Continue, and Pipedream generates a unique URL for you. You’ll see an Action Required message underneath the URL, letting you know that you’ll need to send an HTTP request to the URL and generate a test event:
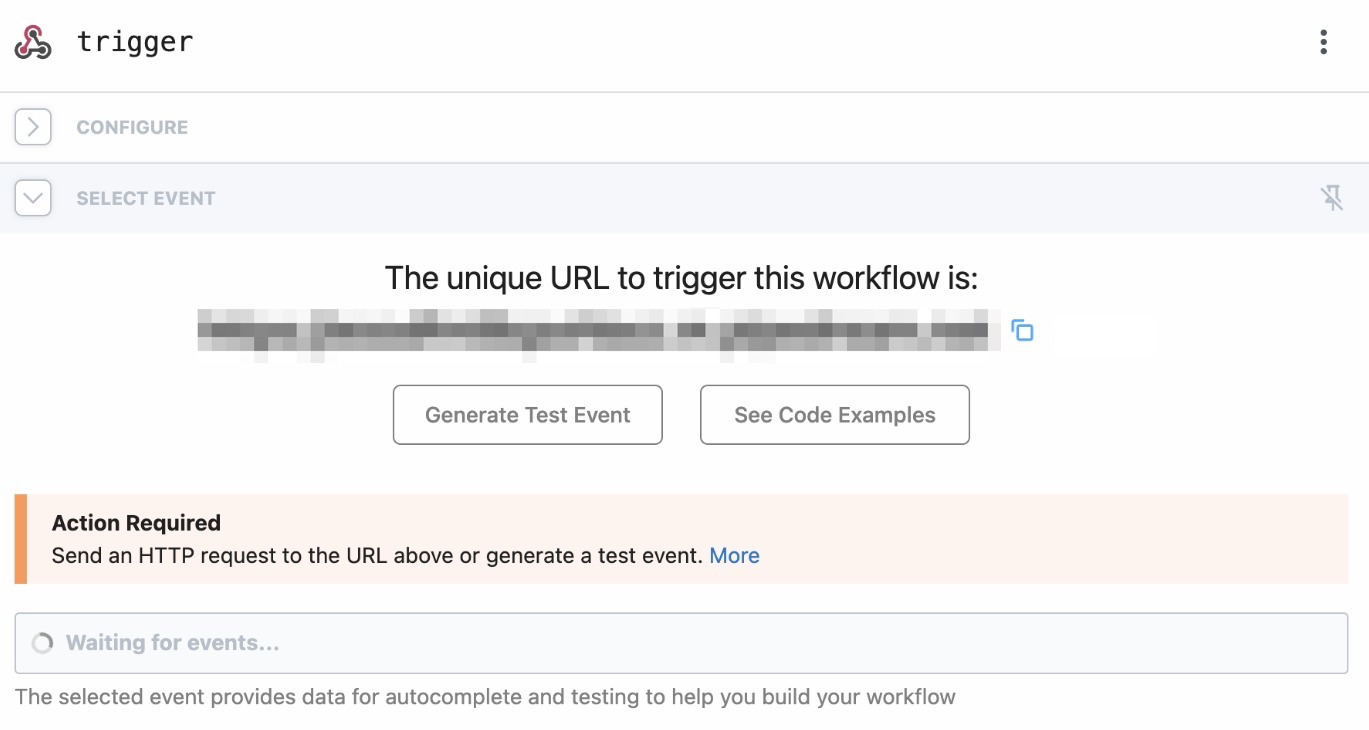
Figure 3. Unique URL generated and the action required message.
Step 3: Set up your Miro webhook subscription
Make a POST request to Miro’s create webhook subscription endpoint, specifying the URL generated in step 2 as the callbackUrl:
POST https://api.miro.com/v2-experimental/webhooks/board_subscriptions
{
     "status": "enabled",
     "boardId": {{boardId}},
     "callbackUrl": "https://{{yourPipedreamEndpoint}}.m.pipedream.net"
}
Important: You will receive an error response from Miro. However, in order to set up this workflow, this is an expected part of the setup. Even though we receive an error response, a test request should still click our Pipedream endpoint, which is all we need right now.
We will resend this request later (step 6), after we’ve set up a custom HTTP response in our workflow to respond with a challenge, but let's hold this off for now.
Step 4: Select a test event
From the event selection list in Pipedream, select the event you generated in step 3 (when calling Miro’s create webhook subscription endpoint) for your trigger. You should see a POST request logged in Pipedream, if step 3 was successful. Select this event and click Continue.
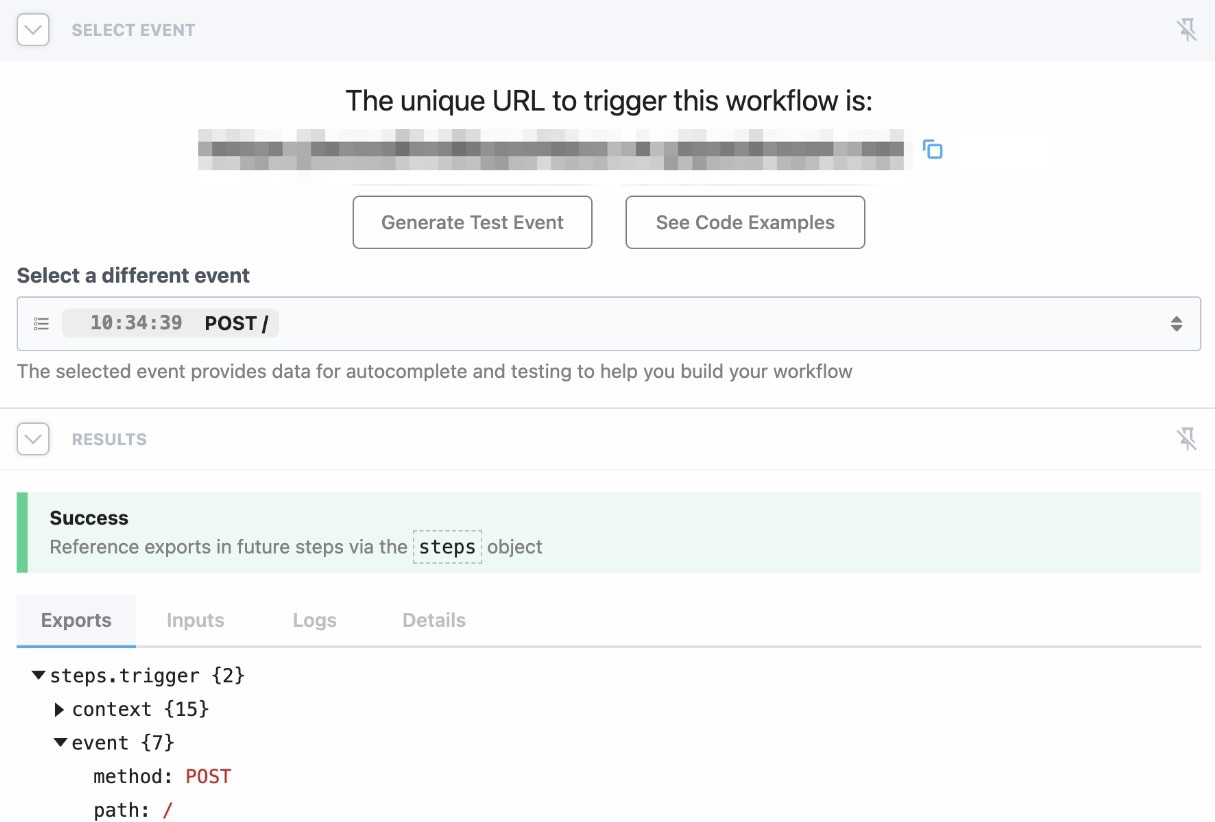
Figure 4. Event selected for the Pipedream workflow, a POST request from Step 3.
Step 5: Add a custom response to your workflow
a. In Pipedream, create a second step in your workflow by clicking the + button in the UI, and then click Return HTTP Response.
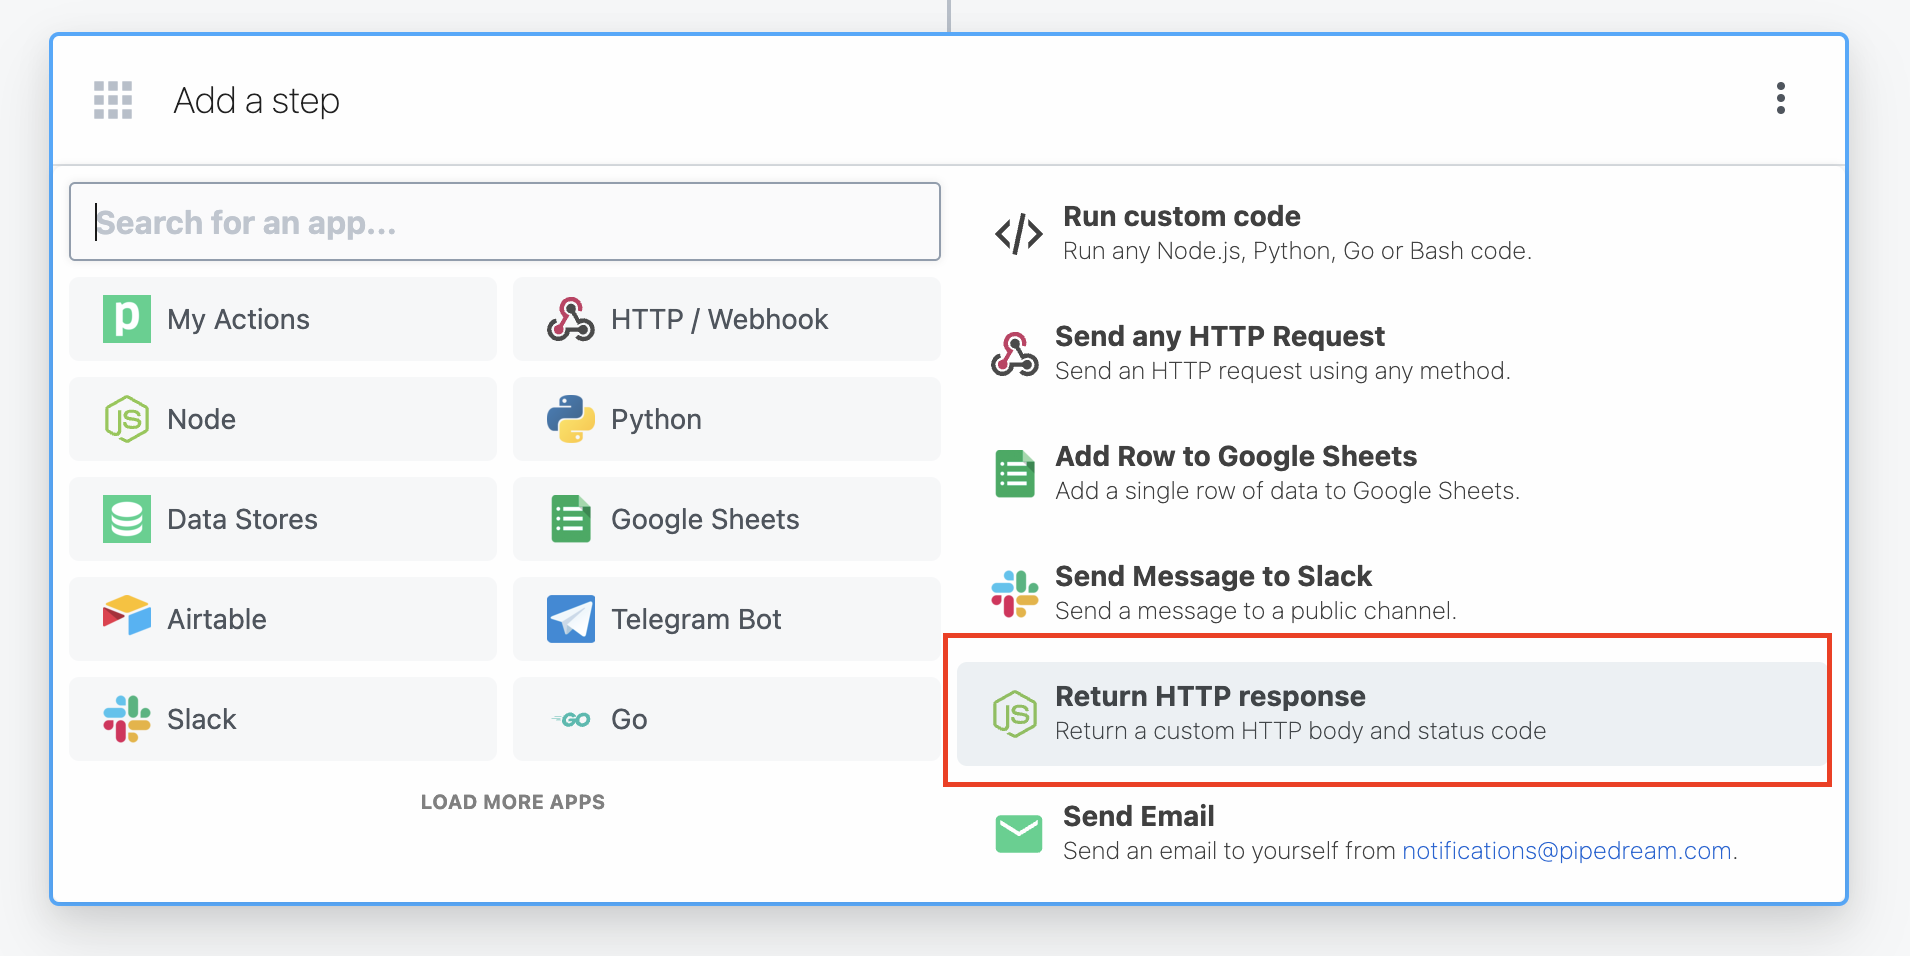
Figure 5. Return HTTP response option in Pipedream.
This allows you to set up a custom response when a webhook is received.
b. In the code box for this step in your workflow, insert the following code:
export default defineComponent({
  async run({ steps, $ }) {
    const headers = {}

    const body = {
      "challenge": `${steps.trigger.event.body.challenge}`
    }

    await $.respond({
      status: 200,
      headers,
      body,
    })
  },
})
This code ensures that your endpoint responds to incoming HTTP requests (webhooks) with a custom response.
c. Miro Challenge
The POST request that Miro sends to your specified callback URL includes a challenge in the body. Your endpoint must respond to this request from your backend and send the same challenge in the response. This is what we’re enabling in this step by leveraging the context from step 1 in our Pipedream workflow, where the challenge was received in the incoming webhook’s body originally—steps.trigger.event.body:
    const body = {
      "challenge": `${steps.trigger.event.body.challenge}`
    }
d. Click Test and you should receive a green success message.
Step 6: Deploy your Pipedream workflow and send a new request to Miro’s create webhook subscription endpoint
a. Once you’ve completed step 5, click Deploy to enable your workflow to start listening for incoming webhooks.
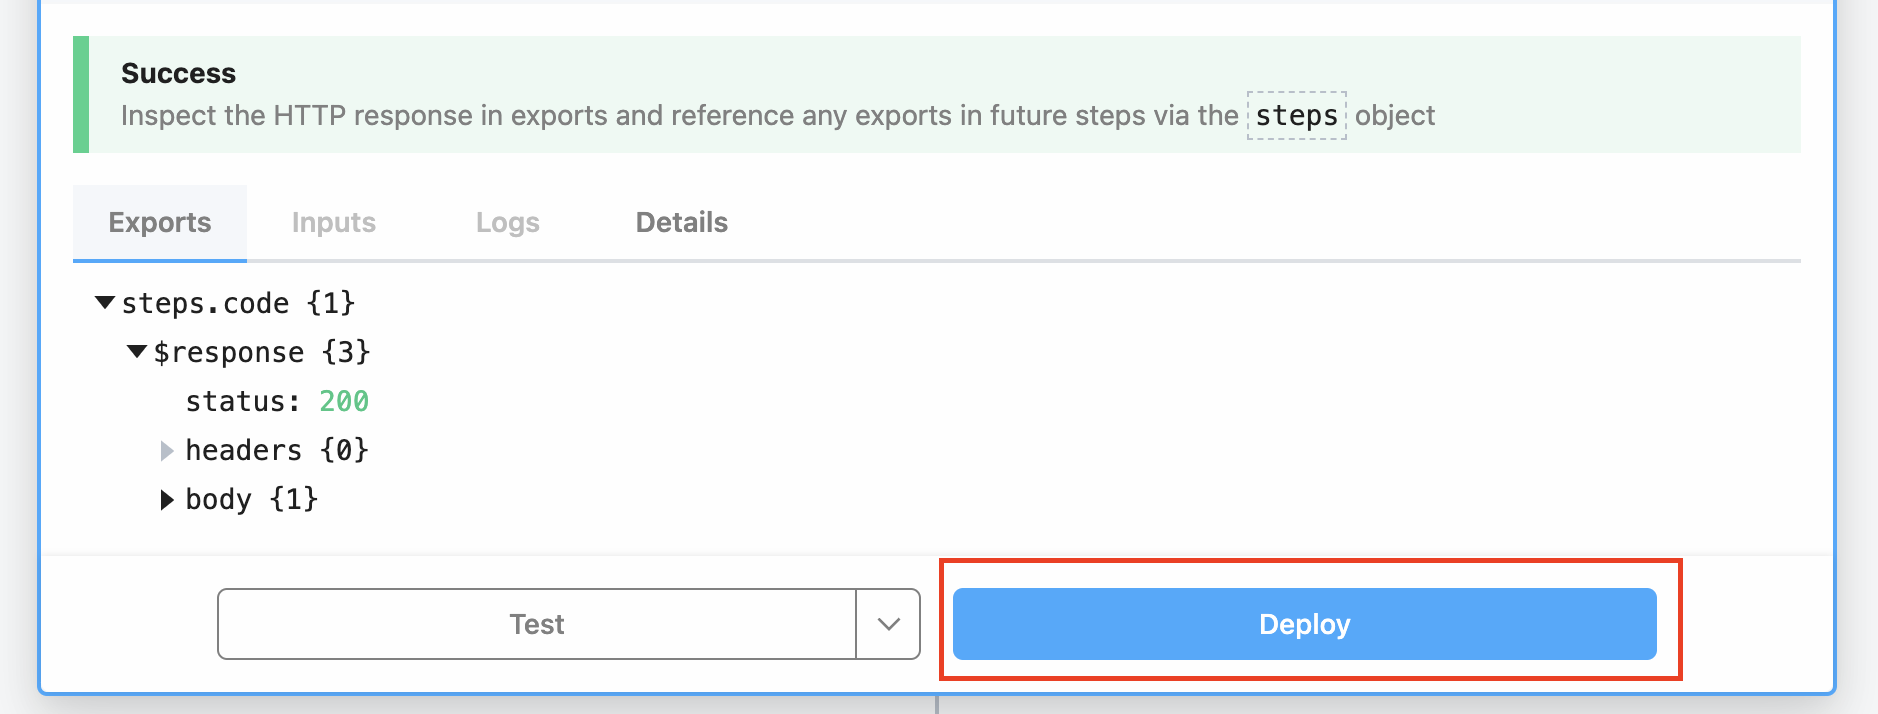
Figure 6. Deploy to enable your workflow to start listening for incoming webhooks.
b. Make a new request to Miro’s create webhook subscription endpoint. This time, you should receive a 201 Created response on success. The response should look something like this:
{
    "id": "e5830a35-7f53-44b7-9ad2-f4094c86255c",
    "data": {
        "boardId": {{boardId}}
    },
    "callbackUrl": "https://{{yourPipedreamUrl}}.m.pipedream.net",
    "createdAt": "2022-12-05T09:52:32Z",
    "modifiedAt": "2022-12-05T09:52:32Z",
    "status": "enabled",
    "type": "board_subscription"
}
In Pipedream, you should see this incoming webhook logged under the workflow section in your dashboard:
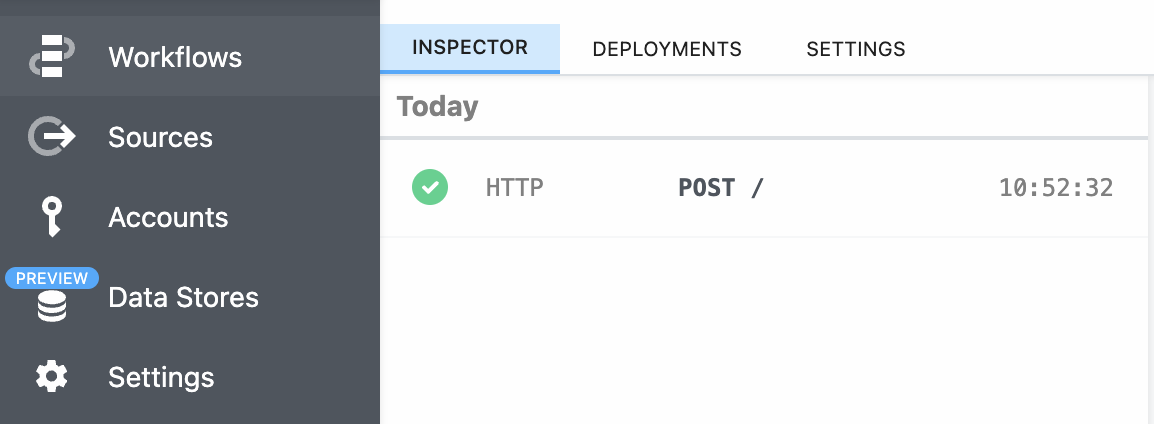
Figure 7. Incoming webhook logged under the workflow section in your Pipedream dashboard.
Conclusion: Test your endpoint!
Congrats, you’ve got a fully-functioning test endpoint to receive Miro webhooks. To test this, navigate to the board that you’ve enabled your webhooks subscription for, and create or modify a board item. This triggers a new webhook, and you can see the payload in your inspector/logs:
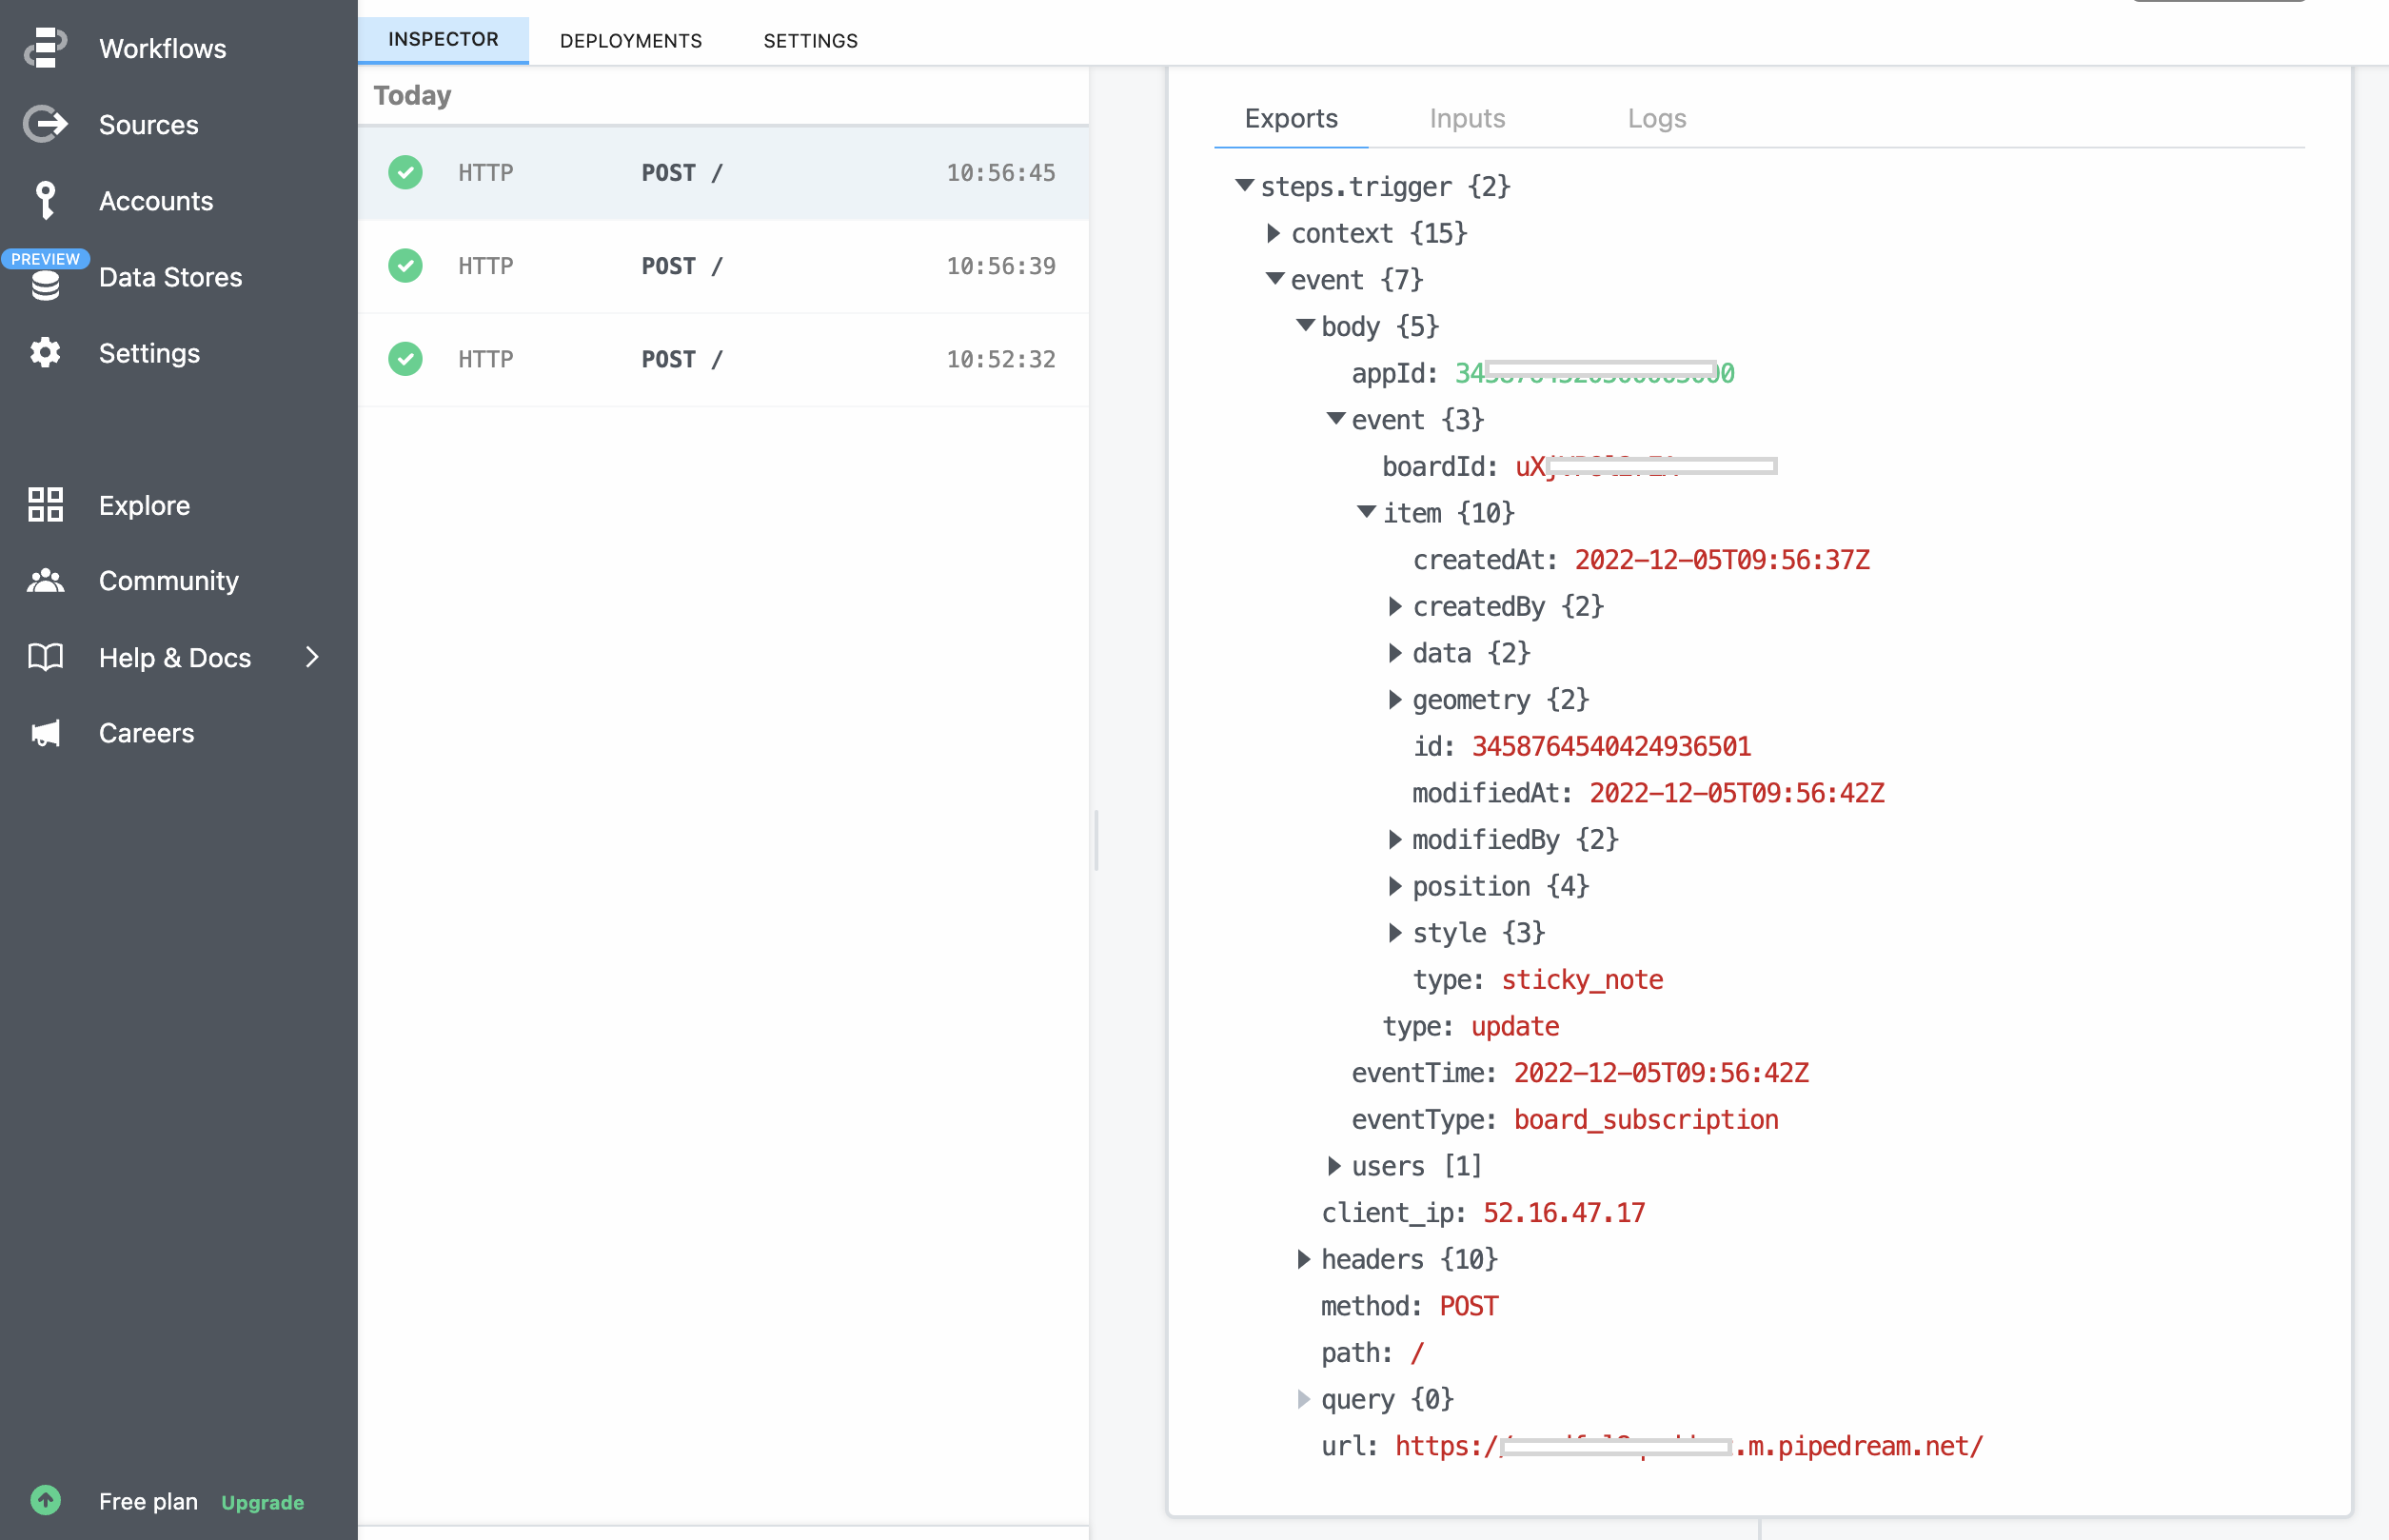
Figure 8. Sample payload in Pipedream inspector.